
This article is part of a series of instructions for Setting up a warp.
For an summary of the articles in this series go to article Instructions for setting up a warp.
Previous Part Setting up a warp - #2 making a warp
Next Part Setting up a warp - #4 Placing the warp in the raddle
|
Spring 2, David2 , David 3, Delta Octado, Megado
(in the picture the Spring-2) |
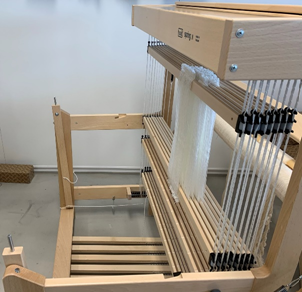
In order to have good space, it is recommended to remove the breast beam, cloth beam and beater from the loom. The cloth beam cannot be removed from the old edition of the Spring, the David-I and II and the Octado. Apply the shaft blocking pin so that the shafts are level during the setup of the loom (Delta, Spring and David) Make sure the shelf on top of the loom is empty.
|
|
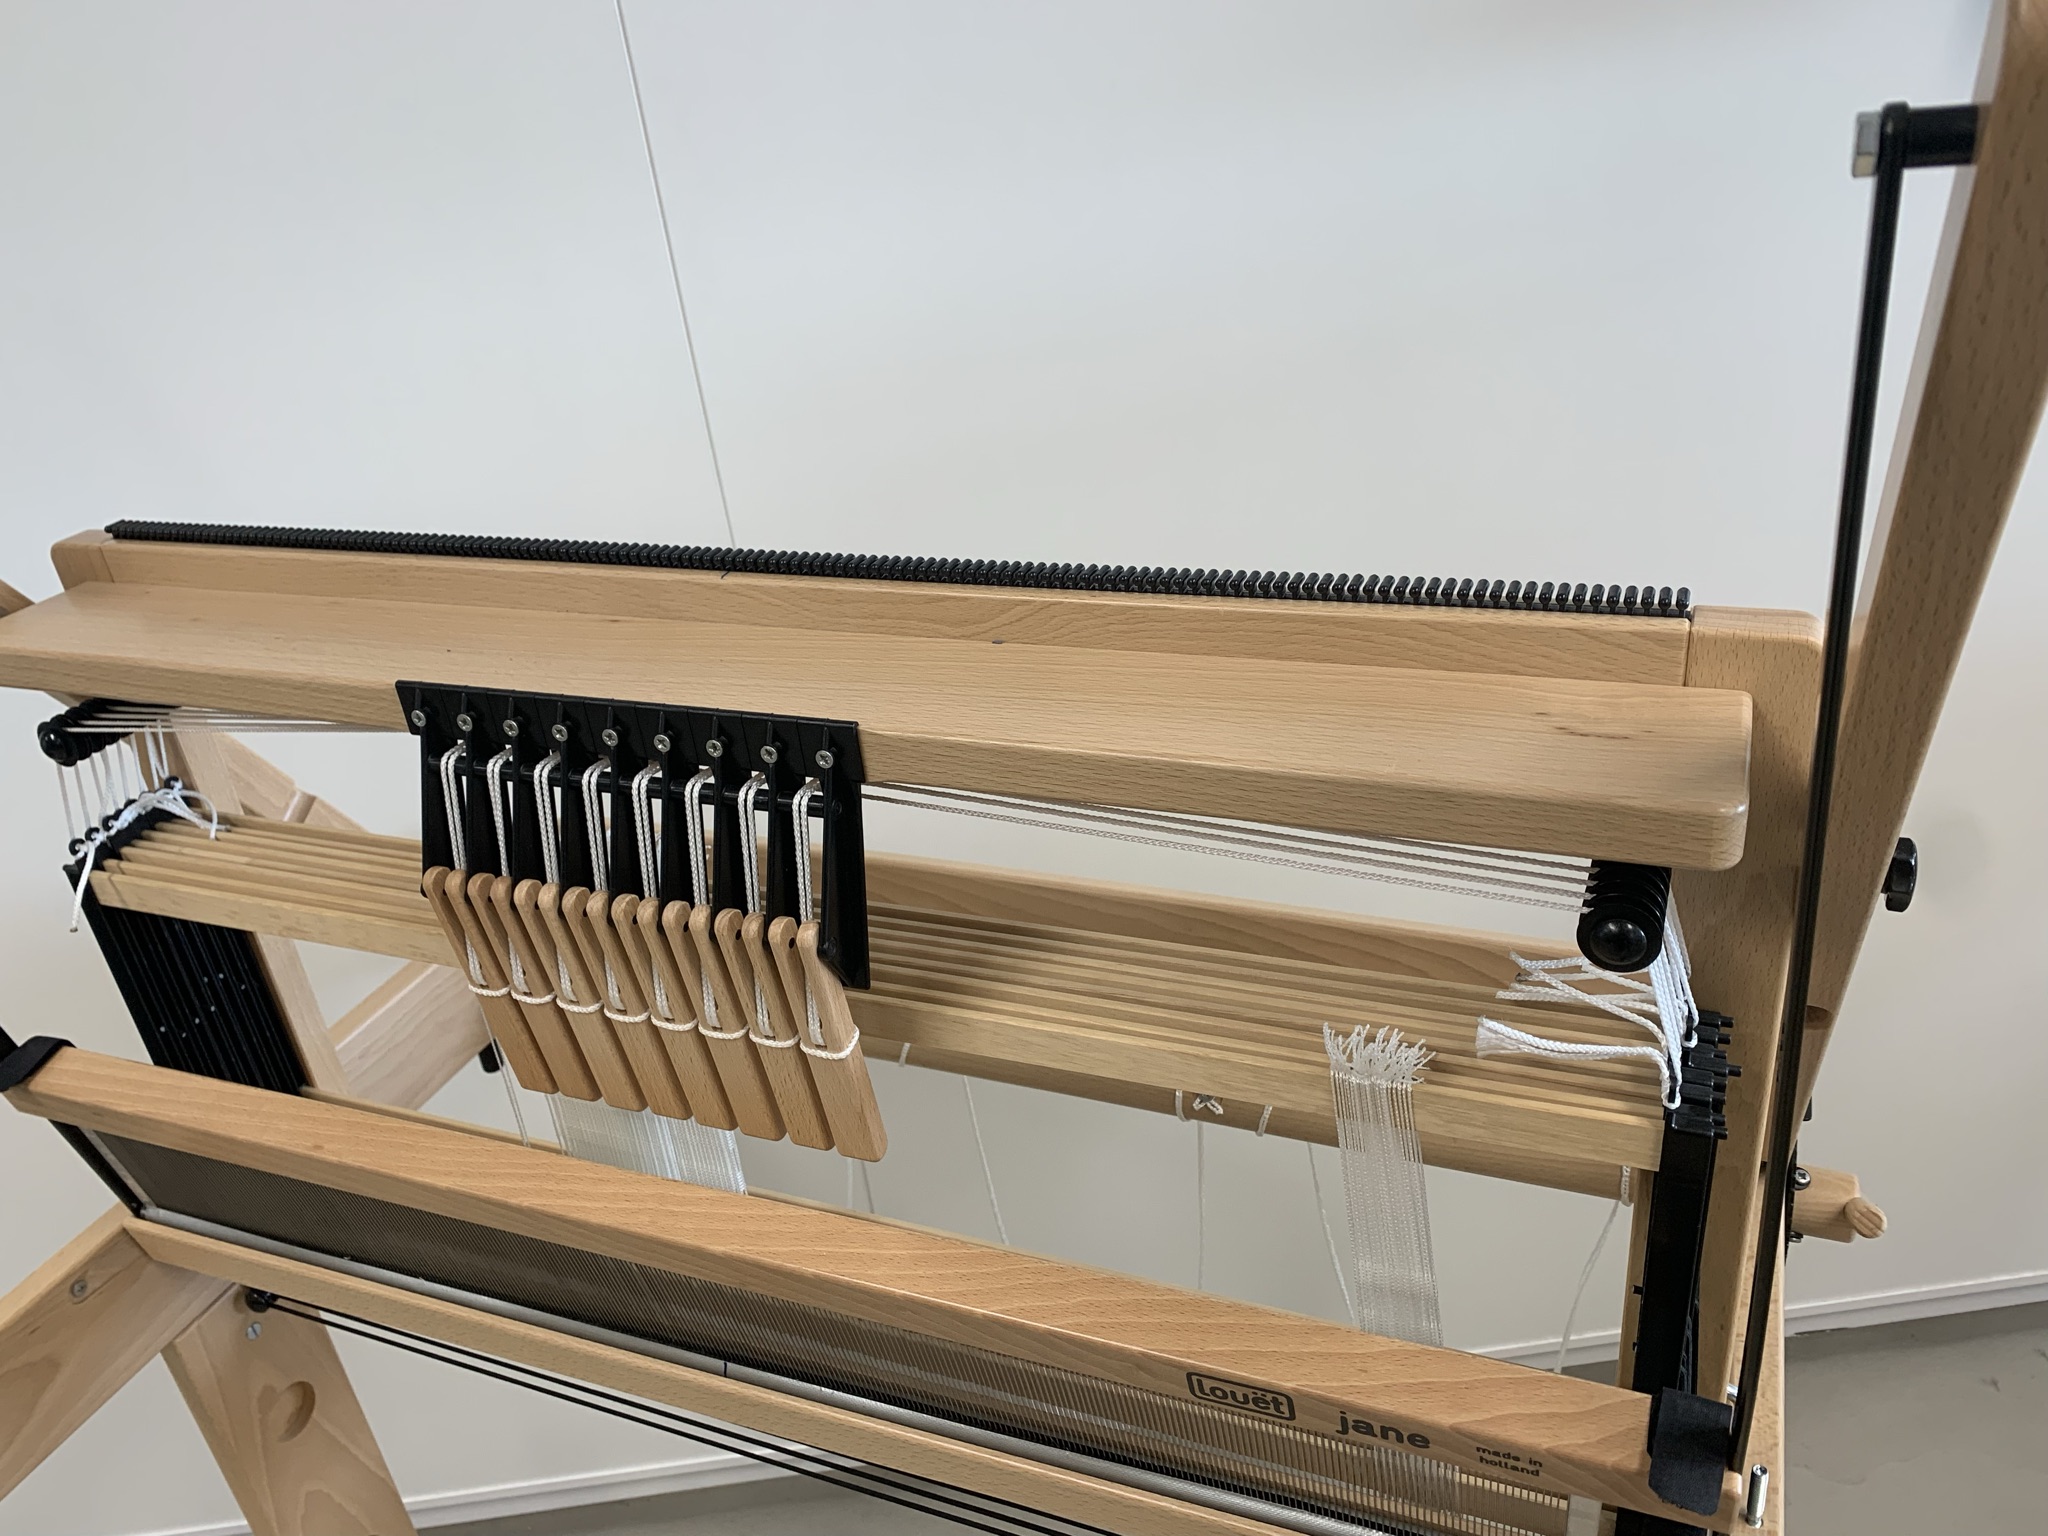
Jane
|
Jane: Before applying the warp to the loom, set the shaft handles in the downward position
|
|
Tool to keep the lease sticks in place while warping
|
As noted when making the warp, it is important throughout the process that the threads do not become tangled. That's why we carefully tied off the warp cross. To have the lease sticks at a comfortable working height while setting up the warp and threading the threads through the heddles, you can easily make a tool yourself with some supplies that are generally available. Buttonhole elastic (preferably of a heavy quality), double knots (possibly make your own by connecting two knots with a stem). If you can't get a buttonhole elastic, you can also make an alternative yourself: for example by knotting off normal band elastic or by customizing a band with elastic ends. You can determine the distances yourself after the explanation in the following parts. These accessories are not supplied by Louet, it is only intended as a tip to work comfortably and without much risk. |
|
In this film you can see the David-3 being prepared for warp. On other looms, some parts will look slightly different.
Under construction
|
|

Comments
0 comments
Please sign in to leave a comment.