
This article is part of a series on winding on a warp.
For an overview of the entire series - see Instructions for setting up a warp
Previous article - Setting up a warp - #7 Threading the reed
Next article - Setting up a warp - #9 tying on the treadles
The instructions below are written for the Spring-2.
The instruction for removing the breast beam also applies to Spring 1, Delta, Octado, David 2 and Megado.
The smaller looms do not have a removable breast beam. The position of the two brake pawls may differ on some looms. Consult the assembly instructions for your loom.
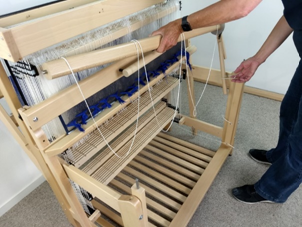
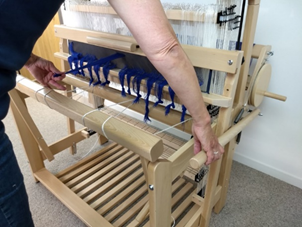
Breast-beam, cloth-beam and tie on barPlace the cloth beam in the loom, turning the rear pawl so that it touches the ratchet wheel at the bottom. Then make sure the advancing handle is supported and hangs at the correct height. |
|
 |
 |
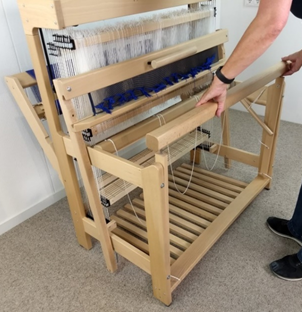 |
Place the breast beam on the floating breast beam arms. When tying the warp, all bundles must be tied at equal tension. This is easier if you temporarilyconnect the floating breast beam short blocking cords. The breast beam is now blocked by the Texsolv cords that connect the spring arms to the front uprights. (check that they are both set at the same position) |
|
|
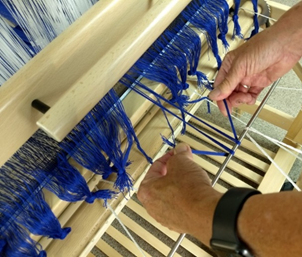
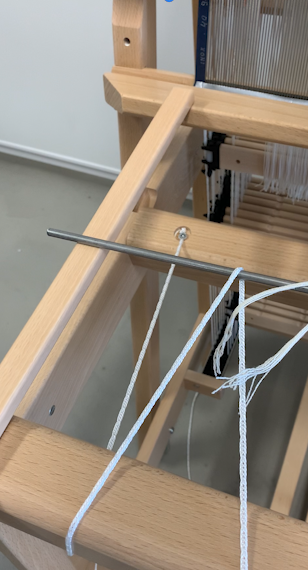
Lay the tie-on cords over the breast beam and insert the tie-on rod through the loops of the texsolv tie-on cords.
In this way, when you bring the warp ends to the breast beam you have plenty of room to tie-on.
|
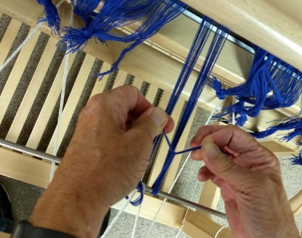
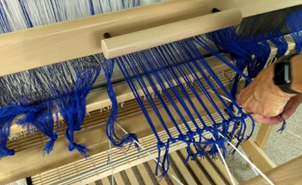
Tying on the warp to the front tie-on barAccurately measure the center of the warp (the reed threading article includes a tip to mark the center of the reed.) You will be working from the center, using the first bundle and tie it on to the left or right of the center tie-on cord.
|
|
 |
To avoid getting large spaces between the warp threads during tie-up, we tie the warp in smaller bunches of 2.5 cm. With this reed, we have 10 dents in this space.
You do not have to pull hard, the warp threads should be just snug (see video)
|
 |
 |
|
|
Feel your warp with a flat handto see if the tension is the same everywhere. Usually the bundles you tied first are a bit looser. Tighten them again and re-check the tension - Once you feel the tension is equal across the warp, go back and tie a second knot in every bundle so that no bundles will loosen again. |
|
Now re-attach the floating breast beam cords to the floating breast beam arms (if you disconnected them). The blocking cords will still be tight now, because there is now much more tension on the warp than you will weave with later.
|
|
|
|
|
|
|
|
|
|
|

Comments
0 comments
Please sign in to leave a comment.